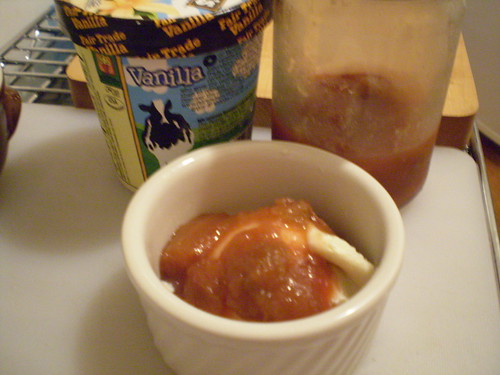
Local peaches and my salad for Chop't
I don't use this blog to write critical reviews of restaurants. Owning a restaurant is tough enough that I never felt the desire to attack someone else's hard-earned livelihood. However, I see no reason not to sing the praises of the places that I feel are doing a good job, and that I'd like to support, especially when they ask me to help promote their use of local foods. One recent day, I was sitting at my desk eating lunch - a salad from Chop't, like I often do. Seriously. I'm eating, and scrolling through personal emails, and there it is in my inbox, an email from Chop't asking if I'd want to contribute salad ideas for their seasonal offerings of local peaches from New Jersey. I looked down at my desk at my half-eaten bowl of salad, and burst out laughing. I guess they had the right person for the job.
In case you don't eat lunch out in NY, Chop't is sort of a lunch-time favorite around these parts. The lines are notoriously long, but the salads are pretty addictive, and since they rotate the speacials with the seasons the menu never gets stale. The New York Times recently wrote about how popular chopped salads are among the office dwelling set. It's true, I like my salads chopped up. I even thought about getting a mezzaluna for a while so I could make them at home. Then I realized I like my fingertips as well, and decided I'd leave the master chopping to the pros.
Chop't asked me to compose a salad using the seasonal menu, which right now means peaches. I started thinking of the one I make every summer - peaches and tomatoes. Not exactly a novel combo, though. I considered something Southern inspired. I did live in Georgia briefly - the home of the peach. Peaches and cornbread? Peaches and bacon? Then one night, as I tried to entice some friends to come over for sangria on the weekend, I realized Spain! Peaches are in sangria... peaches and spicy food are a good match...peaches in a tapas-inspired salad! I made one at home to try it out. I started with arugula (my favorite), I added peaches and red onion (I had pickled ones at home), manchego cheese, tomatoes (Chop't has roasted ones, even better), then started to make a red wine vinaigrette (a nod to sangria). It was good, but it was missing something that would make the Spanish influence more obvious. I opened the spice drawer, and saw my little box of smoked paprika (pimentón in España). I reworked the dressing to be a smoked paprika vinaigrette, which was a little spicy, smoky and tart. It's addictive, and I can't believe I haven't made one before. I think it would improve almost anything you pour it on. Now I just have to figure out how to get an hour long siesta into my work day, to enjoy my salad in the park.
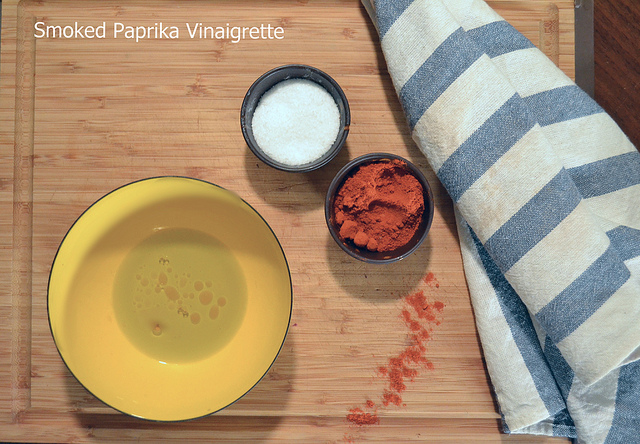
Smoked Paprika Vinaigrette
I'm not a big fan of exact recipes for salad dressing. You really have to taste as you go, and adjust for your personal preferences. Here's a good blueprint to start:
- 1/2 cup extra-virgin olive oil
- 3 tablespoons sherry vinegar
- 1 teaspoon smoked paprika (or more to taste)
- A drizzle of honey
- Salt and Freshly ground pepper to taste
Measure all ingredients into a bowl. Give it a good whisk until the oil and vinegar start to emulsify, aka look like salad dressing. Taste it. Adjust the flavor as needed. If you want it smokier, add more paprika. You want it more tart, add more vinegar. But do each addition a little at a time, whisking after each change, and tasting. The dressing will keep in a closed jar in your fridge for a few days. Pour it on anything. Just don't pour it in your sangria.