 Getting up to be anywhere by 8 am is not really my thing. I'd like to think one day I will morph into an early bird type and be able to enjoy the city before it gets busy and frantic, all the while getting a jump start on the day's tasks. It hasn't happened yet. Actually there is one exception to this problem. Travel. The promise of a trip, almost anywhere, will have me ready to go at least ten minutes early (even if it's without the bright-eyed part). So, when I received an invite to accompany Fresh Direct on a tour of some of the farms they have been working with on the North Fork, of Long Island I knew I'd be jumping out of bed early at least one day that week. The promise of tasting some of this great local food firsthand, and learning about ways to eat locally and still shop at a commercial grocer, just sweetened the deal.
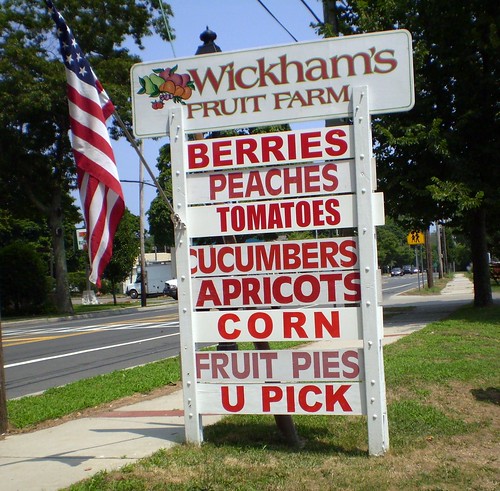
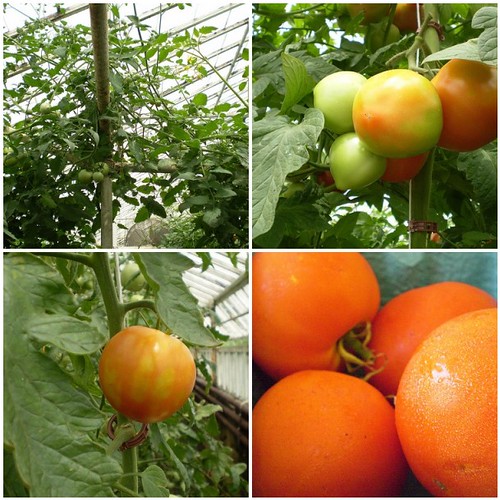
First stop, Wickham's Fruit Farm, which is the oldest continuing operating farm on the North Fork. How old? Well, the farm is over 300 years old, and Tom Wickham, who gave us the tour is the 13th generation to be farming this mere 300 hundred acre plot of land. I suppose 300 acres wasn't much if your family was house shopping pre-American Revolution?! The Wickham's original house was build in 1649 (it's preserved and we drove past it - yay for adult class trips!), and still sits on the property. Tom told us that 200 acres of the land is actually farmed. Originally the land was used for potato farming, but today it is a plethora of fruit orchards and an impressive greenhouse that grows the sweetest tomatoes. I tried plenty of the cherry tomatoes that fell to the greenhouse floor just to be able to tell you that. These are the same tomatoes that Fresh Direct carries. The greenhouse ground is steam sterilized which prevents them from using harsher chemicals and all the the greenhouse tomatoes are unsprayed as well. (Though they can not get the organic label because they do use fertilizer).
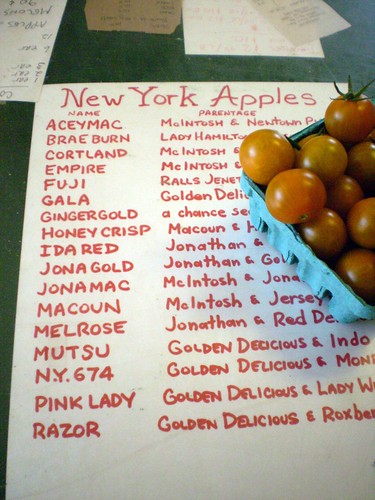
Tom, who is a wealth of information, gave us a lot of his personal opinions on everything from immigration policy, to the plight of disappearing honey bees, as well as his views on the organic versus non-organic debate. According to Tom, organic fruit production on Long Island is virtually impossible because of the humidity. He showed us his license issued by the NYS Department of Environmental Conservation, a government agency that closely regulates the spraying of crops. NYS strictly regulates the use of restricted pesticides, in part because they are protecting the acquifer that supplies Long Island's well water. Tom, pointed out that locally grown fruit is safer to eat thanks to these regulations, as opposed to fruit grown overseas that is not regulated at all. I was so impressed with Tom and his family (his niece is running a hydrangea farm, his sister-in-law was picking blueberries, and his wife was waiting for a school bus of kids from Harlem to take them on a tour of the farm) that I would recommend anyone driving out to the North Fork make a stop at Wickham's. The fruit stand is open everyday but Sunday. I am definitely going back out in the fall for apples and pumpkins. Another great tip from Tom, who at 71 gets noticeably excited to talk about varieties of apples, McIntosh apples are a thing of the past, and Mutsus and Crispins are the best cooking apple.
Satur Farms was our second stop and we walked into the modern farm world as envisioned by two perfectionists, Eberhard Müller and his wife Paulette Satur. When I heard that Eberhard would be cooking our lunch later that day from produce picked on the farm, I was excited. But, when I heard that Eberhard had been a chef before he started the farm in 1997, and not just any chef, but the former chef of Lutece in New York City (he also helped open Le Bernardin with Gilbert LeCoze according to his bio), that's when I became positively ecstatic. Truth be-told, I sent a text message that read, "I feel like the luckiest girl in the world today." I will tell you all about the lunch below, but without the farm there would be no lunch, so a little bit about why I was blown away by this modern farm.

Paulette and Eberhard started small when they opened. Their first customers were the high-end restaurants that Eberhard and his friends worked at. They would drive out to the farm late on a Friday night, work all day Saturday, driving back to the city on Sunday with whatever they picked that weekend, making drop offs at the few restaurants that heard about the amazing greens they were growing. It's the chef equivalent of your neighbor bringing you some extra bounty from their backyard garden. Eberhard was originally from Germany and he wanted to model some of the better European ways of growing. One of the practices that Paulette explained that most impressed me, is so basic and ecologically sound that I can not believe most American farmers do not do the same. The seedling that Paulette is holding up in the photo above, is not planted in a disposable plastic container, but is planted into a little press pot of soil made by a machine. This allows them to do all their transplanting without any waste.
Satur Farms has been working with Fresh Direct for six years now. Paulette explained that Fresh Direct is their farm stand in a sense. They couldn't just bring many of their delicate leafy greens to sit in the sun in a parking lot at a greenmarket and have them be as crisp and fresh as they want you to enjoy them. Working with Fresh Direct they pick the greens, wash them, vacuum cool them, and then package them on the farm in Long Island and then Fresh Direct is shipping them to you the next day. They have expanded their operation to a year around business buy growing the greens in Florida during the winter months. Paulette explained that the greens that they grow in Florida make their way to Long Island to be processed within 24 hours, which in her opinion is still preferable in terms of freshness and environmental concerns for us in New York. Produce grown in California would take closer to six to eight days to get to your table. Each day decreasing in flavor.
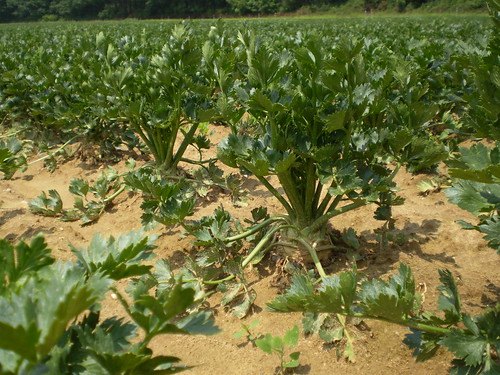
The array of vegetables that Satur Farms grows was impressive. They have mesclun, arugula (or rocket), butter head lettuce, of course. They also grow all types of herbs, leeks with long white shanks (Fresh Direct carries both of these too), chard, beets, baby carrots, baby spinach, frisee, and celery (see the photo above for what a celery bulb looks like as its growing). They started growing mache, a very popular green in Europe, and have at times taken other suggestions from chefs. They are not a certified organic farm, but do use organic sprays and only steam sterilized manure. Another wonderful aspect of farming on the North Fork, is that they are irrigating the fields with well water. Paulette explained that when we've had large recalls of spinach and other vegetables from California, it is because the water they have to use is above ground and susceptible to water born bacteria. By the end of the farm tour, I already knew I'd want to support any farm dedicated to perfection and good environmental choices. Then we went to lunch at beautiful Paumanok Vineyards, pictured below, and I had a meal that was a lesson in what it means to eat seasonal, fresh food.
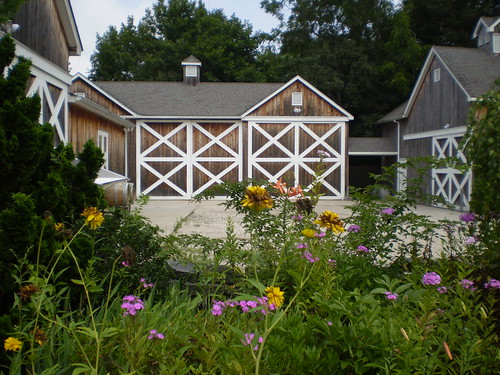
I should mention, in case you weren't aware, that when most people visit the North Fork they are going for the vineyards. There's a little map you can pick up that lists each vineyard you can visit for wine tasting. I highly recommend more people take this trip. It's a ton of fun (I've done it twice by now, hoping to go again this summer) and I really do find that the white wines are really very good. I haven't loved the reds as much, but then again, I haven't tried them all. The Paumanok family, were all in attendance at this lunch and they were pouring Rieslings (a dry and a semi-dry), a Dry Rosé, a Chenin Blanc (I believe they are the only vineyard on the North Fork growing this grape), among others. It was a perfect setting for the lunch prepared by Eberhard. The ingredients were literally picked that morning, on our plate by lunch, fresh food. According to the Chef, when your food is that fresh there isn't much you need to do to it to bring out the delicious flavors. Eberhard said, "food can't taste any fresher than it does here," and after this lunch, I would have to agree with him. If I win the lotto, I'd by a house on the North Fork over the Hamptons any day.

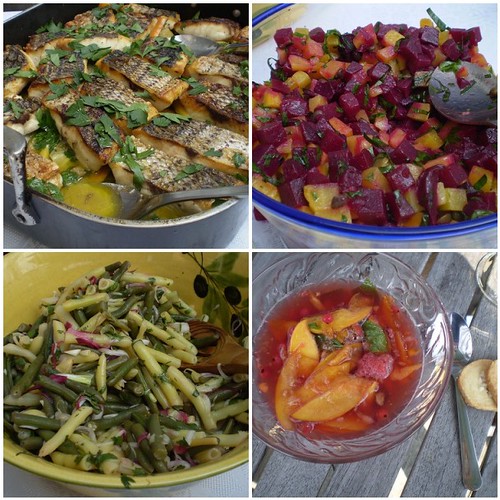
These photos are some of the more colorful dishes that we enjoyed. That is a striped bass escabeche, with baby carrots, a beet salad, a green bean salad, and a peach and nectarine fruit soup with a lemon verbena syrup and red currants. This lunch will forever make my lunch of hummus and crackers and maybe a cheese sandwich seem very sad. The color's were breathtaking. It was just as visually beautiful as it was a flavor explosion. Everything was just simply dressed letting the true flavors of the produce shine. I will try to recreate the beet salad for you in the coming days.
To sum up this day trip courtesy of Fresh Direct, I now fully appreciate how this innovative company has taken a big leap towards doing the right thing for the future, and believing that their customers are smart enough to take notice and support their efforts. Now, lucky New Yorkers never have a reason to gripe about not making it out to the greenmarket after work, or living so far away from amazing farms.
FreshDirect has provided a discount code as a special deal for all my NY readers. Enter the SUPPORTLOCAL code for 20% off your entire Local Market and is good all summer long.
* Limited time offer. Expires August 31, 2010. May not be combined with any other offer. All standard terms and conditions apply. Limit one use per customer/account. Residential orders only. Void where prohibited. Offer is non-transferable.
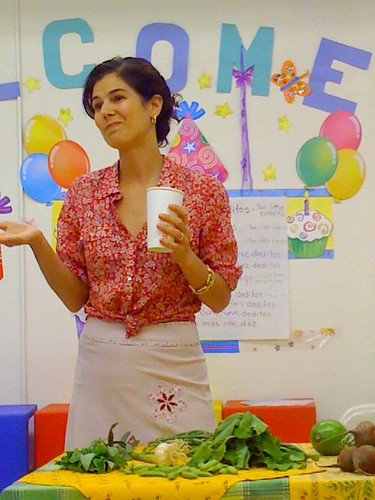
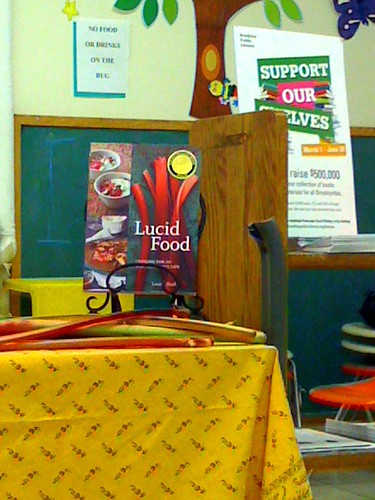 One morning I was on Twitter when I saw Louisa Shafia mention an event she was doing that afternoon to help support the Brooklyn Public Library. Louisa is the author of Lucid Food, a phenomenal cookbook specializing in local foods and seasonal eating. The recipes are all accessible to cooks of any level. I had known about her cookbook for awhile, but I had never picked up a copy, having borrowed one from the library in an effort to curtail my cookbook buying addiction. After learning that we share a local library (the same one from A Tree Grows In Brooklyn!), and that she'd be doing a demo sharing her knowledge of cooking with farmer's market ingredients, I was in. Going to the library to talk vegetables was suddenly more exciting than I could have possibly imagined.
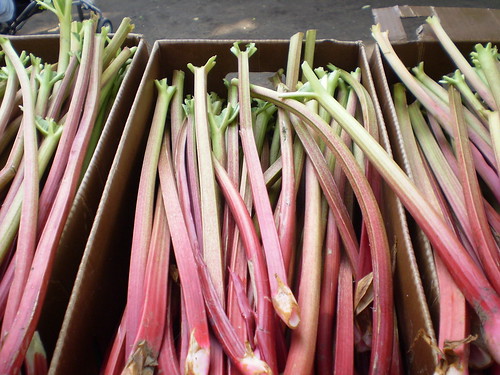
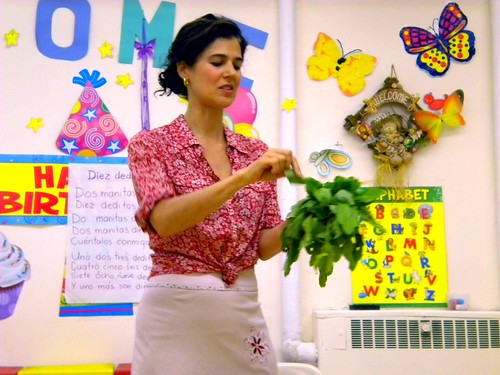 Louisa came armed with samples of all her favorite seasonal ingredients currently available at the greenmarket that we passed around, smelled, and tasted when possible. I realized there are a lot of leafy greens I have been skipping right over at the market. Hello sorrel, how have I been ignoring you all this time?! They sell locally grown Shiso leaves in Union Square? I guess I was going, but falling into the trap that she mentioned, just going straight for my favorite (safe) foods, without really seeing the bounty of what was available.